Simple LED Blinking Arduino Project
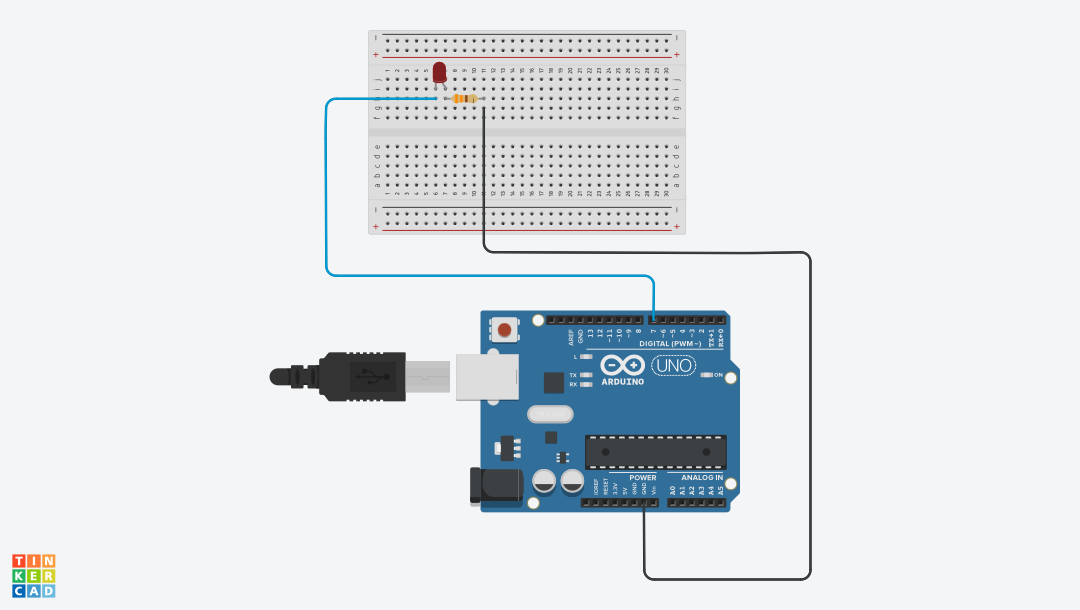
The Simple LED Blinking Arduino Project is an ideal starting point for beginners looking to explore the world of Arduino programming. This project demonstrates the basic principles of digital output control, using a single LED that blinks on and off. It’s an excellent way to get acquainted with the Arduino platform and its coding environment.
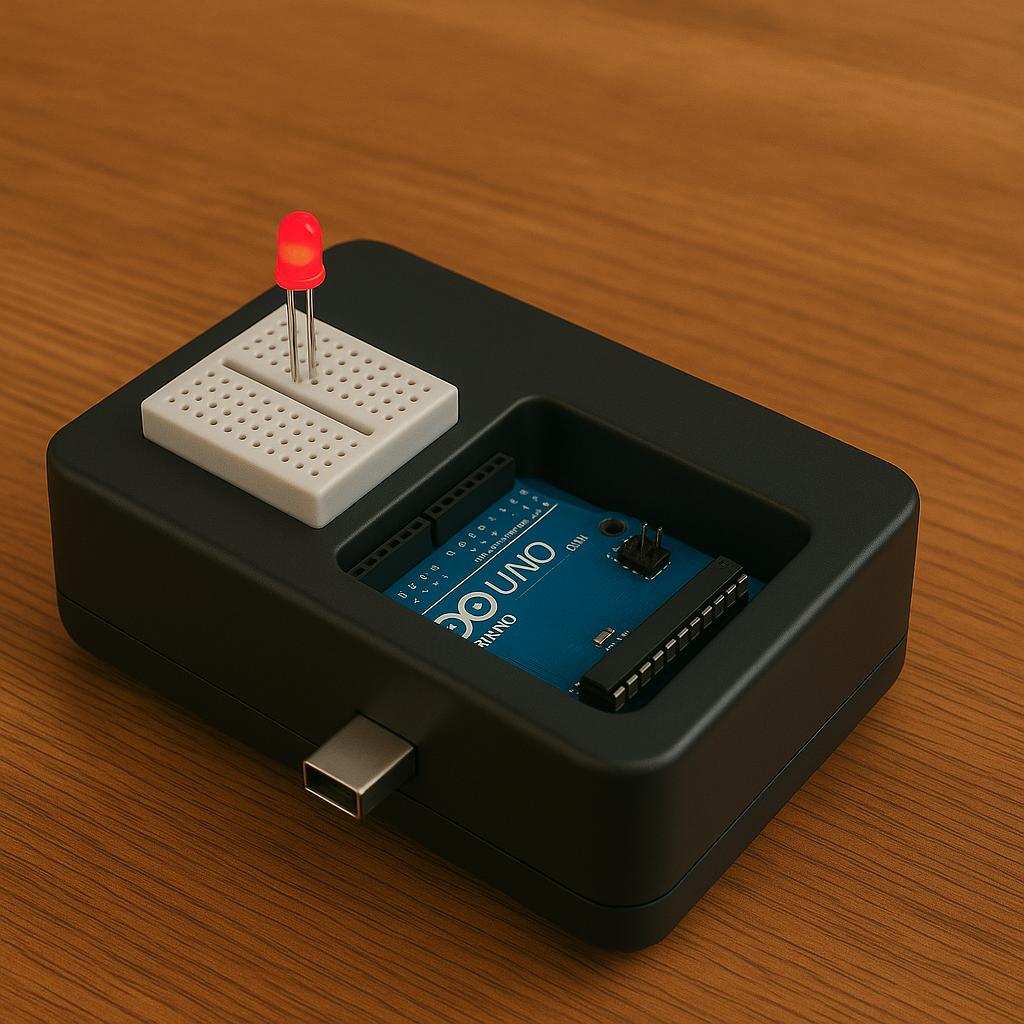
- Components: To create this project, you’ll need an Arduino board, an LED, a 220-330-ohm resistor, and jumper wires.
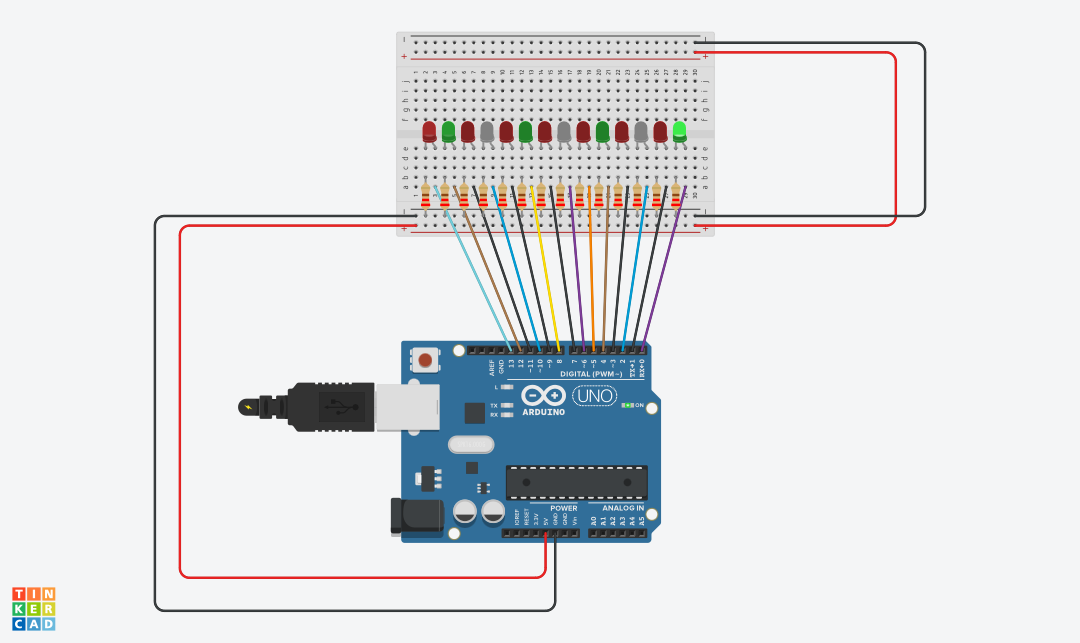
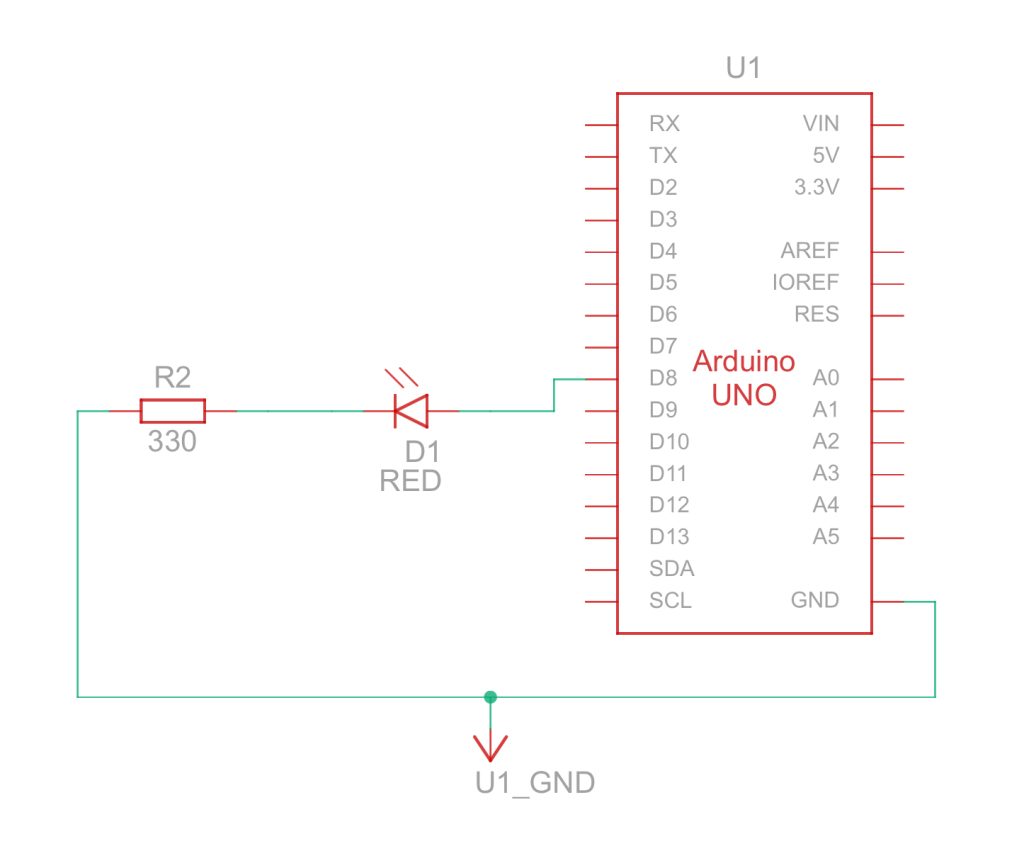
- LED Connection: Connect the longer leg (anode) of the LED to one end of the resistor. Connect the shorter leg (cathode) directly to a ground (GND) pin on the Arduino.
- Resistor Connection: Connect the other end of the resistor to a digital pin on the Arduino pin GND . The resistor is used to limit the current flowing through the LED.
- Code: Open the Arduino IDE, create a new sketch, and write the code for the LED to blink as follows:
Arduino Code
void setup ()
{
pinMode ( 8, OUTPUT); // to set the OUTPUT mode of pin number 8.
}
void loop ()
{
digitalWrite (8, HIGH);
delay(1000); // 1 second = 1 x 1000 milliseconds
digitalWrite (8, LOW);
delay(500); // 0.5 second = 0.5 x 1000 milliseconds
}
This simple LED blinking project serves as a foundational exercise for Arduino programming. It introduces the concepts of digital pin control, pin modes, and time delays.
By uploading the code and assembling the circuit, beginners can gain confidence in their ability to work with Arduino and explore more advanced projects in the future. It’s a fun and educational way to enter the world of microcontroller programming.

