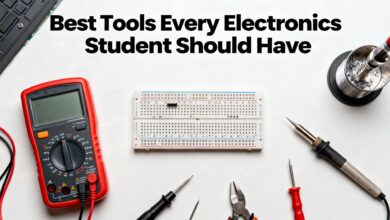
What Is a Breadboard?
If you’re just starting out with electronics, a breadboard is a staple tool you’ll quickly learn to appreciate. It’s a reusable platform for assembling and testing electronic circuits—no soldering required. Breadboards allow you to experiment, make mistakes, and modify connections with ease, making them perfect for beginners and seasoned tinkerers alike.
Understanding the Breadboard Layout
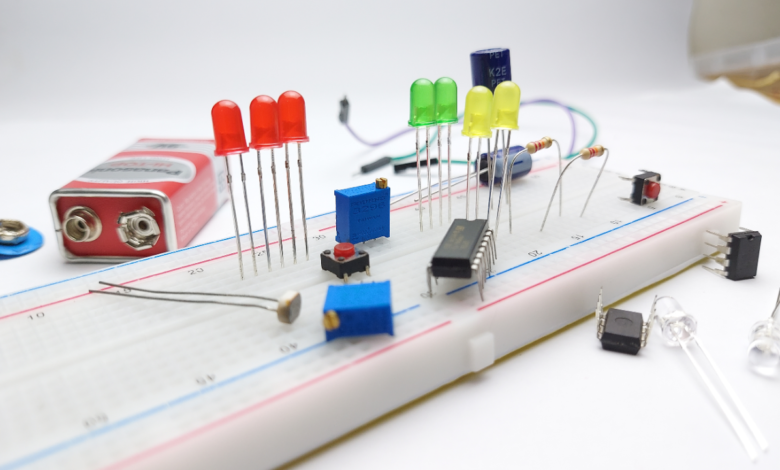
Breadboards have holes arranged in rows and columns. Inside, metal clips connect certain holes, forming electrical pathways. Most breadboards feature two power rails (usually at the top and bottom) for distributing power, and a central grid for placing your components. Understanding how these internal connections work helps you lay out your circuit efficiently and avoid short circuits.
Essential Components for Your First Circuit
To get hands-on, you’ll need a few basic parts:
- Breadboard
- Battery or power supply (such as a 9V battery)
- Jumper wires (for making connections)
- LED (Light Emitting Diode)
- Resistor (commonly 330Ω or 1kΩ to protect your LED)
Step-by-Step: Building a Simple LED Circuit
- Place the LED: Insert the long leg (anode) of the LED into any row on the breadboard. The short leg (cathode) goes into an adjacent row.
- Add the Resistor: Connect one end of the resistor to the same row as the LED’s cathode, and the other end to another empty row. This avoids letting too much current go through the LED.
- Connect to Power: Use a jumper wire to connect the anode row to the positive rail (red) of your breadboard. Connect the resistor’s free end to the negative rail (blue/black).
- Apply Power: Attach your battery leads to the rails—positive to the red rail, negative to the blue/black. When powered, your LED should light up!
Tips and Next Steps
- Always disconnect power before adjusting components.
- Use color-coded wires to keep your layout tidy.
- Experiment by adding a button or changing the resistor value to see how your circuit behaves.
Breadboards unlock creative freedom and are foundational for prototyping any electronics project. With just these basics, you’re set to explore countless possibilities and bring your ideas to life.
This is all about Breadboard Basics, How to Build Your First Circuit, Thanks for reading.
Check out my other articles.