Light-Sensitive LED Circuit
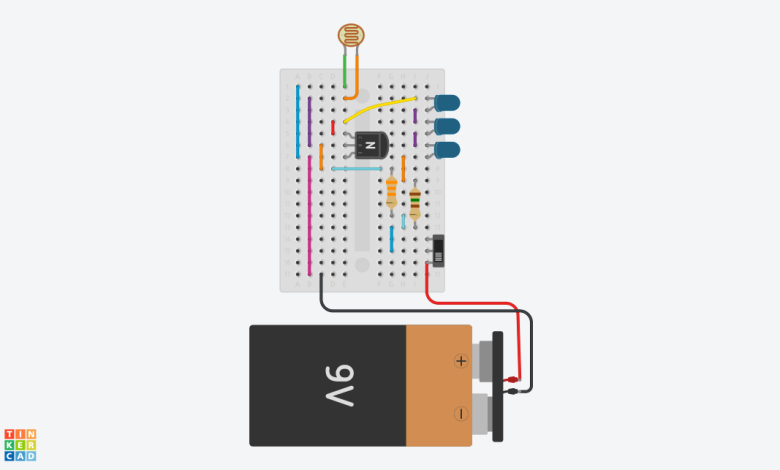
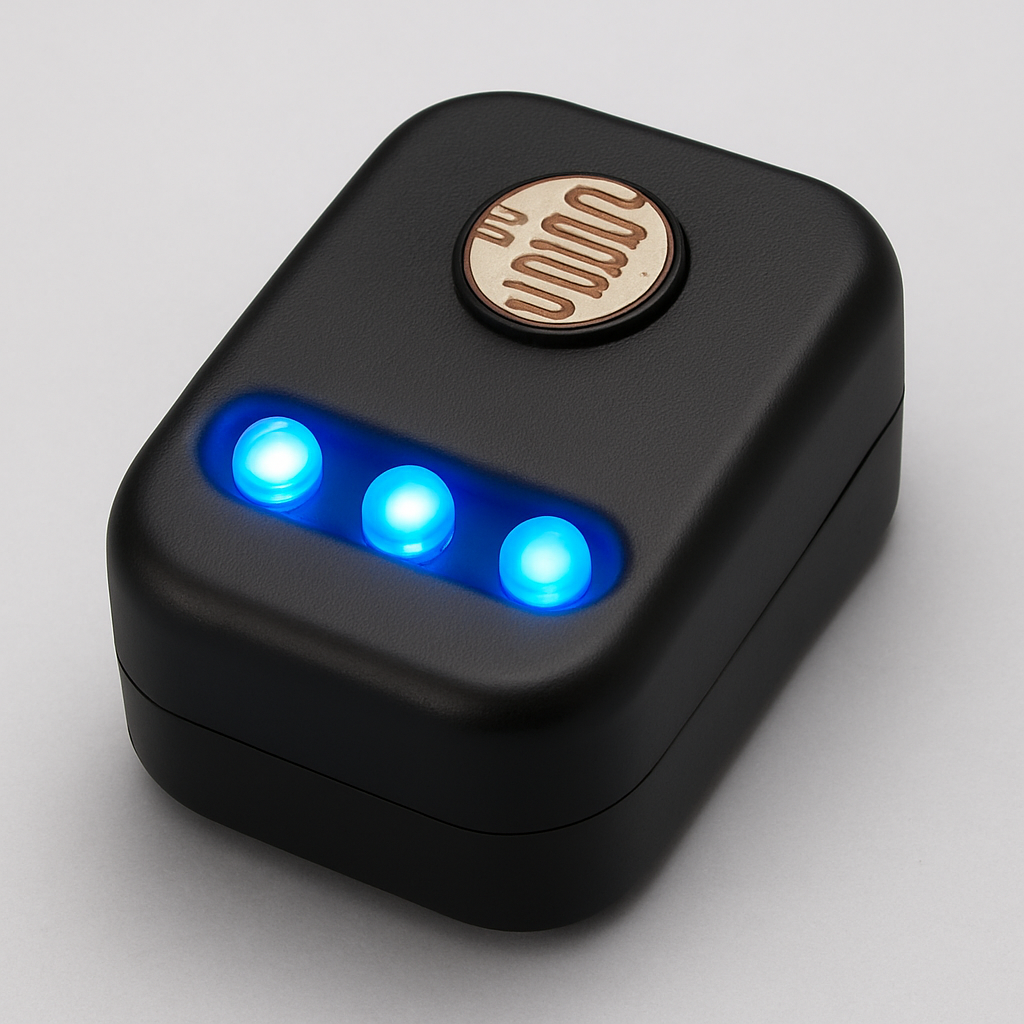
The Light-Sensitive LED Circuit is a simple yet versatile project designed to automatically adjust the brightness of LEDs based on ambient light conditions. This project requires a few basic electronic components:
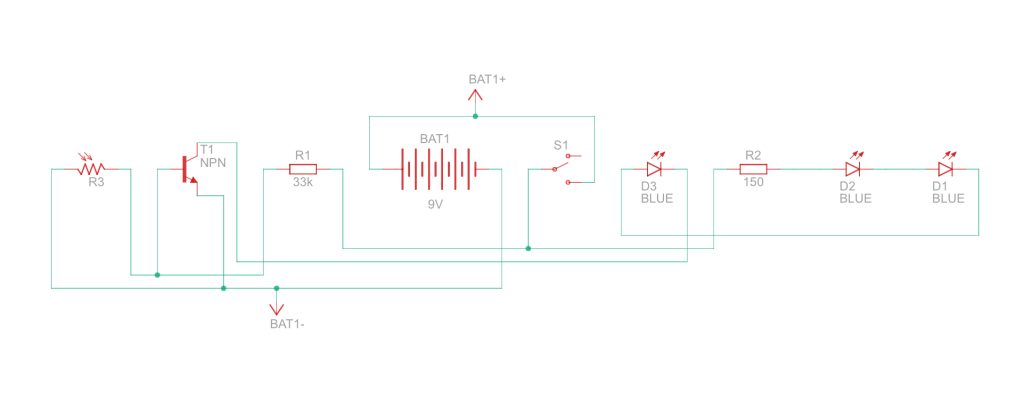
Component List:
| Name | Quantity | Component |
|---|---|---|
| BAT1 | 1 | 9V Battery |
| R1 | 1 | 33 kΩ Resistor |
| R2 | 1 | 150 Ω Resistor |
| R3 | 1 | Photoresistor |
| T1 | 1 | NPN Transistor (BJT) |
| S1 | 1 | Slideswitch |
| D1 D2 D3 | 3 | Blue LED |
- Connect the positive terminal of the 9V battery to one terminal of the slide switch.
- Connect the other terminal of the slide switch to the base of the NPN transistor.
- Connect the emitter of the transistor to the ground.
- Use the 33 kΩ resistor to connect the base of the transistor to the positive terminal of the battery.
- Connect the collector of the transistor to one end of the 150 Ω resistor.
- Connect the other end of the 150 Ω resistor to the anodes of the three blue LEDs.
- Connect the cathodes of the LEDs to the ground.
The photo-resistor, a light-sensitive component, detects changes in ambient light. In the presence of light, the photoresistor’s resistance decreases, allowing current to flow through the transistor.
This, in turn, regulates the current flowing through the LEDs, adjusting their brightness. The slide switch allows manual control of the circuit.
The Light-Sensitive LED Circuit provides an excellent hands-on experience for beginners in electronics, demonstrating the principles of light-dependent resistors and transistor-based control circuits.
It serves as a foundation for understanding more complex applications in light-sensing technology.

