If you’ve ever built a circuit, you’ve seen the label “GND” on almost every component — but what does ground actually mean? Ground is the reference point every voltage in a circuit is measured against. Think of it as “zero,” the baseline everything else compares to. It’s one of the most fundamental concepts in electronics, and understanding it will save you hours of troubleshooting on future Arduino and ESP32 projects.
What Does Ground Mean in a Circuit?
Ground is simply the point in a circuit that’s defined as 0 volts. It’s not necessarily connected to the actual earth (though in some cases it is) — it’s a shared reference so that every other voltage, positive or negative, has something to be measured against. Voltage is always a difference between two points, never an absolute value on its own, which is exactly why ground exists.
Why Ground Matters in Electronics :
Think of ground like sea level on a map. A mountain isn’t “5,000 feet” in some absolute sense — it’s 5,000 feet above sea level. Voltage works the same way. When you say a pin is “outputting 5V,” what you really mean is “5V above ground.” If two parts of a circuit don’t share the same ground, their voltage readings can’t be compared at all — it’s like comparing a mountain’s height in one country to a valley’s depth in another, using two different sea levels.
Common Types of Electrical Ground :
- Circuit ground / common ground — the shared 0V reference for a single circuit, like the negative terminal of a battery in an Arduino project.
- Earth ground — a physical connection to the ground beneath a building, used mainly for safety, giving excess current (like from a fault or lightning) a safe path away from people and equipment.
- Chassis ground — the metal frame or enclosure of a device, often tied to circuit ground to prevent stray voltage from making the case dangerous to touch.
- Digital ground vs. analog ground — in sensitive designs, digital and analog sections sometimes get separate ground paths that meet at one point, to keep noisy digital switching from interfering with delicate analog readings.
How Ground Works in a Typical Arduino Project :
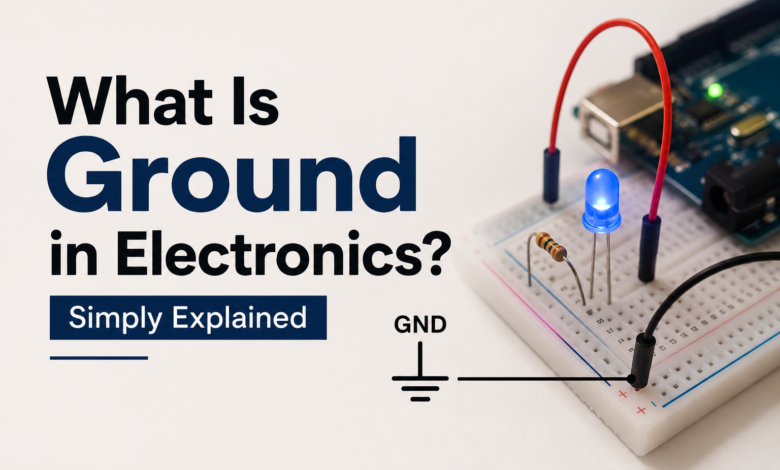
When you wire up a sensor to an Arduino, the sensor’s GND pin connects to the Arduino’s GND pin. This isn’t optional — without it, the Arduino has no reference point to measure the sensor’s output voltage against, and readings will be erratic or meaningless, even if power (VCC) is connected correctly. This is why “forgetting the ground wire” is one of the most common reasons a circuit doesn’t work, even though it seems like the least important connection.
Grounding Tips for Your Next Project :
- Always connect grounds first when wiring a new component — it prevents floating voltages while you’re still connecting the rest.
- If a project uses multiple power sources (like a battery for motors and USB for a microcontroller), tie all the grounds together at one point to keep every measurement consistent.
- For noise-sensitive projects (audio, precision sensors), look into a “star grounding” layout, where all ground wires meet at a single central point rather than daisy-chaining component to component.
Frequently Asked Questions :
- Is ground the same as negative?
In most simple DC circuits, yes — ground is usually tied to the negative terminal of the power source. But ground is really a reference point, while “negative” refers to polarity, so the two concepts overlap without being identical in every context.
- Do I always need to connect ground?
Yes. Any component sharing signals or power with your microcontroller needs a common ground connection, or its voltage readings won’t make sense to the rest of the circuit.
- Can a circuit have more than one ground?
Yes, especially in larger projects with multiple power sources — but all grounds should ultimately be tied together at one point so every part of the circuit shares the same 0V reference.
Ground isn’t just “the negative wire” — it’s the silent reference point that makes every other voltage in a circuit meaningful. Get the grounding right, and the rest of the circuit has something solid to measure against.
Visit tinkercircuits.com for more beginner-friendly Arduino and ESP32 guides.
Happy Tinkering! — The Tinker Circuits Team.