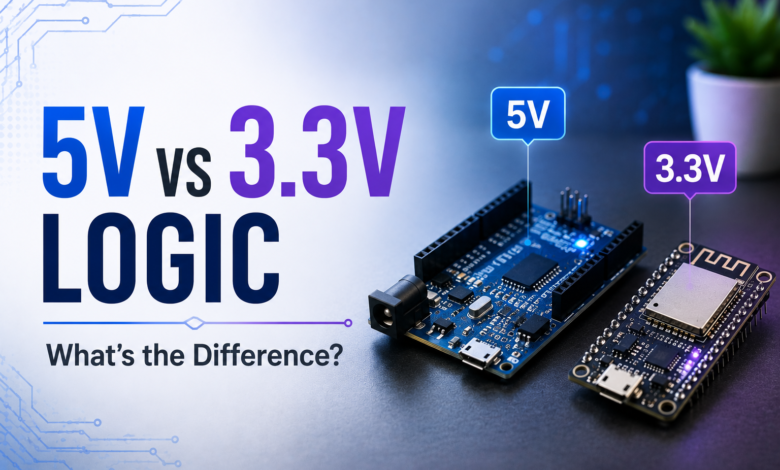
Mixing up 5V and 3.3V logic can silently damage your components. This beginner-friendly guide explains the difference between the two logic levels and how to work with both safely.
5V vs 3.3V Logic – What’s the Difference?
If you’ve moved from an Arduino Uno to an ESP32 or a Raspberry Pi, you’ve probably run into a confusing detail: some boards run on 5V logic, others on 3.3V. Mixing the two carelessly is one of the more common ways beginners damage a board, and understanding the difference is essential once you start combining components from different ecosystems. This guide breaks down what logic voltage actually means and how to handle it safely.
What Is Logic Voltage?
Logic voltage refers to the voltage a microcontroller or component uses to represent digital “high” and “low” signals — essentially, its version of a 1 and a 0. A 5V logic board treats close to 5V as “high” and close to 0V as “low,” while a 3.3V logic board uses roughly 3.3V as “high” instead. This matters because a signal considered “high” on one board might not register correctly, or could even cause damage, on a board expecting a different voltage.
Which Boards Use Which Logic Level?
- 5V logic — Arduino Uno, Arduino Nano, Arduino Mega, and most classic Arduino boards
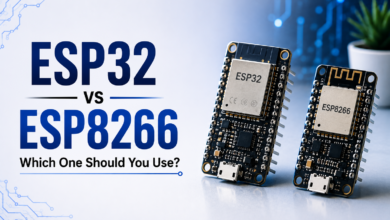
- 3.3V logic — ESP32, ESP8266, Raspberry Pi, and most modern Wi-Fi-enabled microcontrollers
This split exists partly because 3.3V components tend to use less power and generate less heat, which matters more on boards with built-in wireless radios.
Why Mixing Logic Levels Is a Problem :
Sending a 5V signal into a pin designed for 3.3V logic can exceed that pin’s absolute maximum voltage rating, potentially damaging it permanently. Going the other direction — a 3.3V signal into a 5V logic input — is usually safer, but the signal may not reliably register as “high,” leading to inconsistent or flaky behaviour rather than outright damage.
How to Safely Connect 5V and 3.3V Devices :
- Use a logic level converter
A small, inexpensive module that safely steps voltage up or down between two devices, letting a 5V board and a 3.3V board communicate without damaging either side.
- Use a voltage divider for simple one-way signals
Two resistors in the right ratio can drop a 5V signal down to a safe 3.3V level for a single-direction connection, though this only works reliably for basic digital signals, not two-way communication.
- Check if the component already tolerates both
Some sensors and modules are labeled as “5V tolerant” even though they run on 3.3V logic, meaning they can safely accept a 5V input signal without extra conversion hardware.
- When in doubt, check the datasheet
The recommended operating conditions and absolute maximum ratings sections will state exactly what input voltage a pin can safely handle.
Tips for Beginners :
- Never assume two boards share the same logic level just because they both look like microcontrollers — always check before wiring them together directly.
- Treat “5V tolerant” as a specific, stated feature, not a general assumption — confirm it in the datasheet before relying on it.
- If a project mixes an Arduino Uno with an ESP32 or similar 3.3V board, plan for a logic level converter early rather than troubleshooting mysterious behaviour later.
- A voltage divider is a fine quick fix for simple digital signals, but for anything communicating both directions (like I2C), use a proper logic level converter instead.
Frequently Asked Questions :
- Can I damage a 3.3V board by sending it a 5V signal?
Yes. Many 3.3V boards, including the ESP32, are not tolerant of 5V on their GPIO pins, and doing so can damage the pin or the entire board.
- Is it safe to send a 3.3V signal into a 5V logic input?
Usually safer than the reverse, but not guaranteed to work reliably, since the receiving pin may not consistently interpret 3.3V as a clear “high” signal.
- Do I always need a logic level converter between different boards?
Not always — some components are explicitly rated as tolerant of both voltage levels, but this should be confirmed in the datasheet rather than assumed.
5V and 3.3V logic aren’t interchangeable, and mixing them without a plan is one of the easiest ways to damage a board or get unreliable results. A quick datasheet check, and a logic level converter or voltage divider when needed, keeps mixed-voltage projects running safely.
Visit tinkercircuits.com for more beginner-friendly Arduino and ESP32 guides.
Happy Tinkering! — The Tinker Circuits Team.