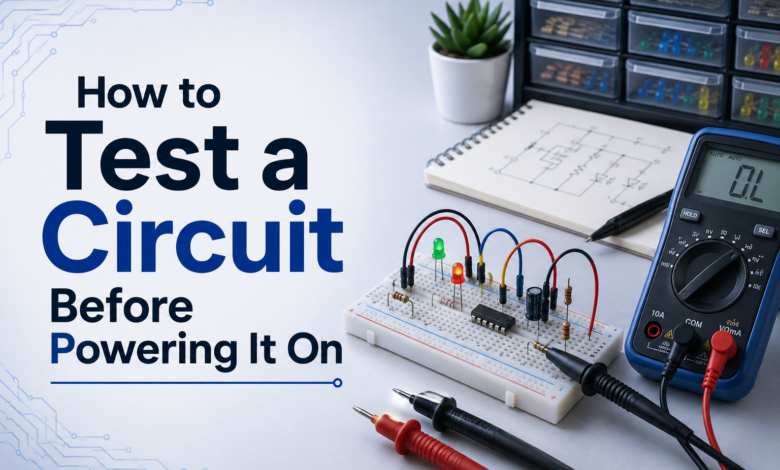
Skipping a pre-power check is one of the fastest ways to damage a component. Learn simple beginner-friendly steps to test a circuit safely before flipping the switch.
How to Test a Circuit Before Powering It :
It’s tempting to wire up a circuit and immediately apply power to see if it works, but that’s exactly how components get damaged. A few minutes of checking before power-on can catch mistakes that would otherwise cost you a burnt component or a confusing debugging session. This guide covers simple, practical checks anyone can do before flipping the switch.
Why Pre-Power Testing Matters :
Once power is applied, mistakes happen fast — a short circuit or reversed polarity can damage a component in a fraction of a second. Testing beforehand costs nothing but a little time, while testing after the fact often costs a replacement part. Building the habit of checking before powering on is one of the simplest ways to protect your components and your budget.
Visual Inspection :
Before touching a multimeter, just look at the circuit carefully.
- Check polarity on every LED, diode, and electrolytic capacitor — make sure the longer leg or marked stripe lines up with the correct rail.
- Trace your power and ground connections visually from the source to every component, confirming nothing is missing or misrouted.
- Look for stray wire ends that might be touching a neighboring row or rail they shouldn’t be.
- Compare against your circuit diagram, if you have one, point by point rather than from memory.
Using a Multimeter Before Power-On :
- Check for continuity
Set your multimeter to continuity mode and test between your power rail and ground rail. If it beeps or reads near-zero resistance, you likely have a short circuit somewhere that needs to be found before power is applied.
- Test individual connections
Touch the probes between two points that should be connected — like a component leg and its corresponding rail — to confirm the connection is solid rather than assuming it from the wiring alone.
- Verify component orientation with resistance readings
For components like diodes, a multimeter’s diode-test mode can confirm the part is oriented correctly before it’s ever exposed to your circuit’s actual voltage.
Checking Your Power Source :
- Confirm your power supply or battery is actually outputting the voltage you expect, using a multimeter, rather than assuming the label is accurate.
- Double-check that a variable power supply is set to the correct voltage before connecting it to your circuit, especially if it was previously used for a different project.
- If you’re using a USB power source, make sure the cable you’re using actually carries power and data, since some cables are charge-only or data-only.
A Simple Pre-Power Checklist :
- Visually trace every power and ground connection from source to component
- Confirm correct polarity on all LEDs, diodes, and capacitors
- Run a continuity check between power and ground to rule out a short
- Verify your power source is set to the correct, expected voltage
- Compare the physical wiring against your circuit diagram one more time
- Make sure no exposed wire ends are touching anything they shouldn’t
Tips for Beginners :
- Get in the habit of doing this checklist every time, even on simple circuits — burnouts often happen on the projects people were most confident about.
- If you have access to a bench power supply with current limiting, set a conservative current limit for your first power-on, so any mistake is caught before it causes damage.
- Power on briefly, watch and feel for anything unusual (smell, heat, smoke), and be ready to disconnect immediately rather than walking away right after switching on.
Frequently Asked Questions :
- Do I need a multimeter to test a circuit before powering it on?
A multimeter makes testing far more reliable, but a careful visual inspection alone catches many common mistakes like reversed polarity or an obviously misrouted wire.
- What’s the fastest way to check for a short circuit?
Set a multimeter to continuity mode and touch the probes to your power and ground rails before anything is powered on. A beep or near-zero reading indicates a short that needs to be found first.
- Is it safe to power on a circuit even if I’m not sure it’s wired correctly?
It’s best to avoid it. A brief, cautious power-on with a current-limited supply is far safer than confidently powering an unchecked circuit at full voltage.
Testing a circuit before powering it on takes just a few minutes, but it’s one of the most reliable ways to protect your components from an easily avoidable mistake. A quick visual check, a continuity test, and a verified power source go a long way toward a safe, successful power-on.
Visit tinkercircuits.com for more beginner-friendly Arduino and ESP32 guides.
Happy Tinkering! — The Tinker Circuits Team.