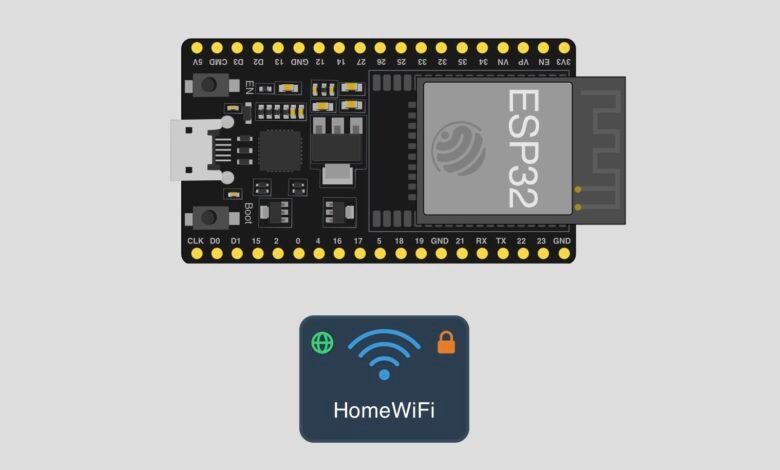
Almost every ESP32 project starts with one step: getting the board online. Whether you are building a smart home device, a web server or an IoT sensor, the ESP32 needs to connect to a WiFi network first. In this project, we write a simple sketch that connects an ESP32 to your WiFi network and shows the progress on the Serial Monitor.
While the board is connecting, it prints a row of dots. As soon as the connection succeeds, it prints “Connected!”. It is a small sketch, but it is the starting point for almost every ESP32 internet project.
What You Will Learn :
- How to connect an ESP32 to a WiFi network
- How to use the built-in WiFi.h library
- How to check the connection status with WiFi.status()
- How to show progress and messages on the Serial Monitor
- How to store your network name and password in variables
Components Required :
| Component | Quantity |
| ESP32 DevKit Board | 1 |
| Micro USB Cable (to upload code and power the board) | 1 |
| WiFi Network (home router or phone hotspot) | 1 |
Libraries Required :
No extra libraries are needed. The sketch uses the built-in WiFi.h library, which comes with the ESP32 board package. If you have not added ESP32 support to your Arduino IDE yet, open Tools → Board → Boards Manager, search for esp32 and install the package.
Setup :
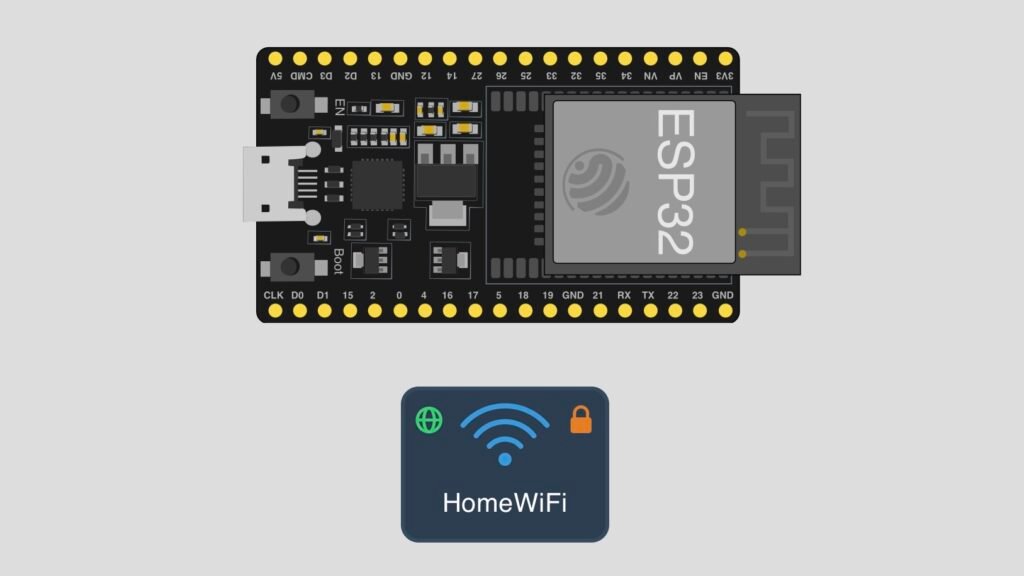
There are no wires to connect in this project. Plug the ESP32 into your computer with a micro USB cable, and the board is ready to be programmed. The USB cable also powers the board and carries the Serial Monitor output.
Note: The ESP32 connects to 2.4 GHz WiFi networks only. If your router sends out separate 2.4 GHz and 5 GHz networks, choose the 2.4 GHz one.
How It Works :
When the ESP32 starts, it calls WiFi.begin() with your network name and password. Connecting takes a moment, so the sketch waits in a loop and checks the connection status every 100 milliseconds. Each time it checks, it prints a dot on the Serial Monitor. When the status changes to connected, the loop ends and the board prints “Connected!”.
| Step | What Happens | Serial Monitor Output |
| 1 | The board starts and begins connecting | Connecting to WiFi… |
| 2 | The board waits for the connection | Dots appear one by one |
| 3 | The connection is successful | Connected! |
After this point, the ESP32 stays connected to your network, and the loop() is ready for any code you want to add.
Arduino Code :
#include <WiFi.h>


const char* ssid = "HomeWiFi";
const char* password = "mypassword";


void setup() {
  Serial.begin(115200);
  WiFi.begin(ssid, password);


  Serial.print("Connecting to WiFi...");
  while (WiFi.status() != WL_CONNECTED) {
    delay(100);
    Serial.print(".");
  }


  Serial.println();
  Serial.println("Connected!");
}


void loop() {
  delay(10);
}
Code Explanation :
WiFi Library: #include <WiFi.h> adds the functions the ESP32 needs to connect to a WiFi network.
Network Details: The ssid and password variables hold your WiFi name and password. They sit at the top of the code, so they are easy to find and change.
Serial Communication: Serial.begin(115200) starts the Serial Monitor at a speed of 115200 baud. Your Serial Monitor must be set to the same speed to show the text correctly.
Starting the Connection: WiFi.begin(ssid, password) tells the ESP32 to start connecting to your network.
Waiting for the Connection: The while loop keeps running as long as WiFi.status() is not equal to WL_CONNECTED. Inside the loop, the board waits 100 milliseconds and prints a dot, which gives you a simple progress indicator.
Connected Message: When the connection succeeds, the loop ends. The board prints a new line and then “Connected!” to the Serial Monitor.
The Loop: The loop() only has a short delay because this sketch has nothing else to do after connecting. This is where you will add your own code later.
How to Use :
- Connect the ESP32 to your computer with a micro USB cable
- Open the code in the Arduino IDE
- Replace HomeWiFi and mypassword with your own WiFi name and password
- Select Tools → Board and choose your ESP32 board, for example ESP32 Dev Module
- Select the correct port under Tools → Port
- Upload the code to the ESP32
- Open the Serial Monitor and set the speed to 115200 baud
- Press the EN button on the board if you missed the start of the output
- Watch the dots appear, followed by “Connected!”
Customisation Tips :
- Show the IP address: Add Serial.println(WiFi.localIP()); after “Connected!” to print the address your router gave the ESP32
- Add a timeout: Stop the loop after a set number of tries, so the board does not wait forever if the password is wrong
- Add an LED indicator: Turn on an LED once the connection is successful, so you can see the status without the Serial Monitor
- Build a web server: Use this sketch as the starting point for a simple web page hosted on the ESP32
- Read data from the internet: Fetch the time, weather or any online data once the board is connected
- Send sensor data online: Connect a sensor and send its readings to a cloud service or dashboard
Conclusion :
You have successfully connected an ESP32 to a WiFi network using just a few lines of code. This is the first step for almost every IoT project, from smart home gadgets to online sensors and web servers. Now that your ESP32 is online, the next step is to build something on top of it.
Try adding the IP address line and an LED indicator to make the project your own! Visit Tinkercircuits.com for more exciting projects!
Happy Tinkering! The Tinker Circuits Team